Here is the latest and greatest.
Stay tuned for more changes as projects get replaced or updated!
Friday, December 17, 2010
Magic Shield
Created using: After FX, Maya
This shot began as a simple idea and ran away with our imaginations.
It began as a simple shot involving us and a simple explosion, but we thought it needed something else.
I then added meteors that would cause the explosion, but what caused the meteors? We needed a villain to cast them. My brother, Xavier, graciously jumped at the chance to be our villain.
Then we needed a way to show that he was casting them somehow, so I created the "magic effect" using Maya particles and fluid effects. We thought it looked cool so we then added the same for ourselves and armed ourselves with wands.
We needed to cast something, so that led to creating a shield in After FX using various elements and animating them with Time Displacement.
We then composited everything together onto separate environment elements, including the land and foliage that Xavier and I shot at Mission Trials in San Diego, CA. Here is the final result.
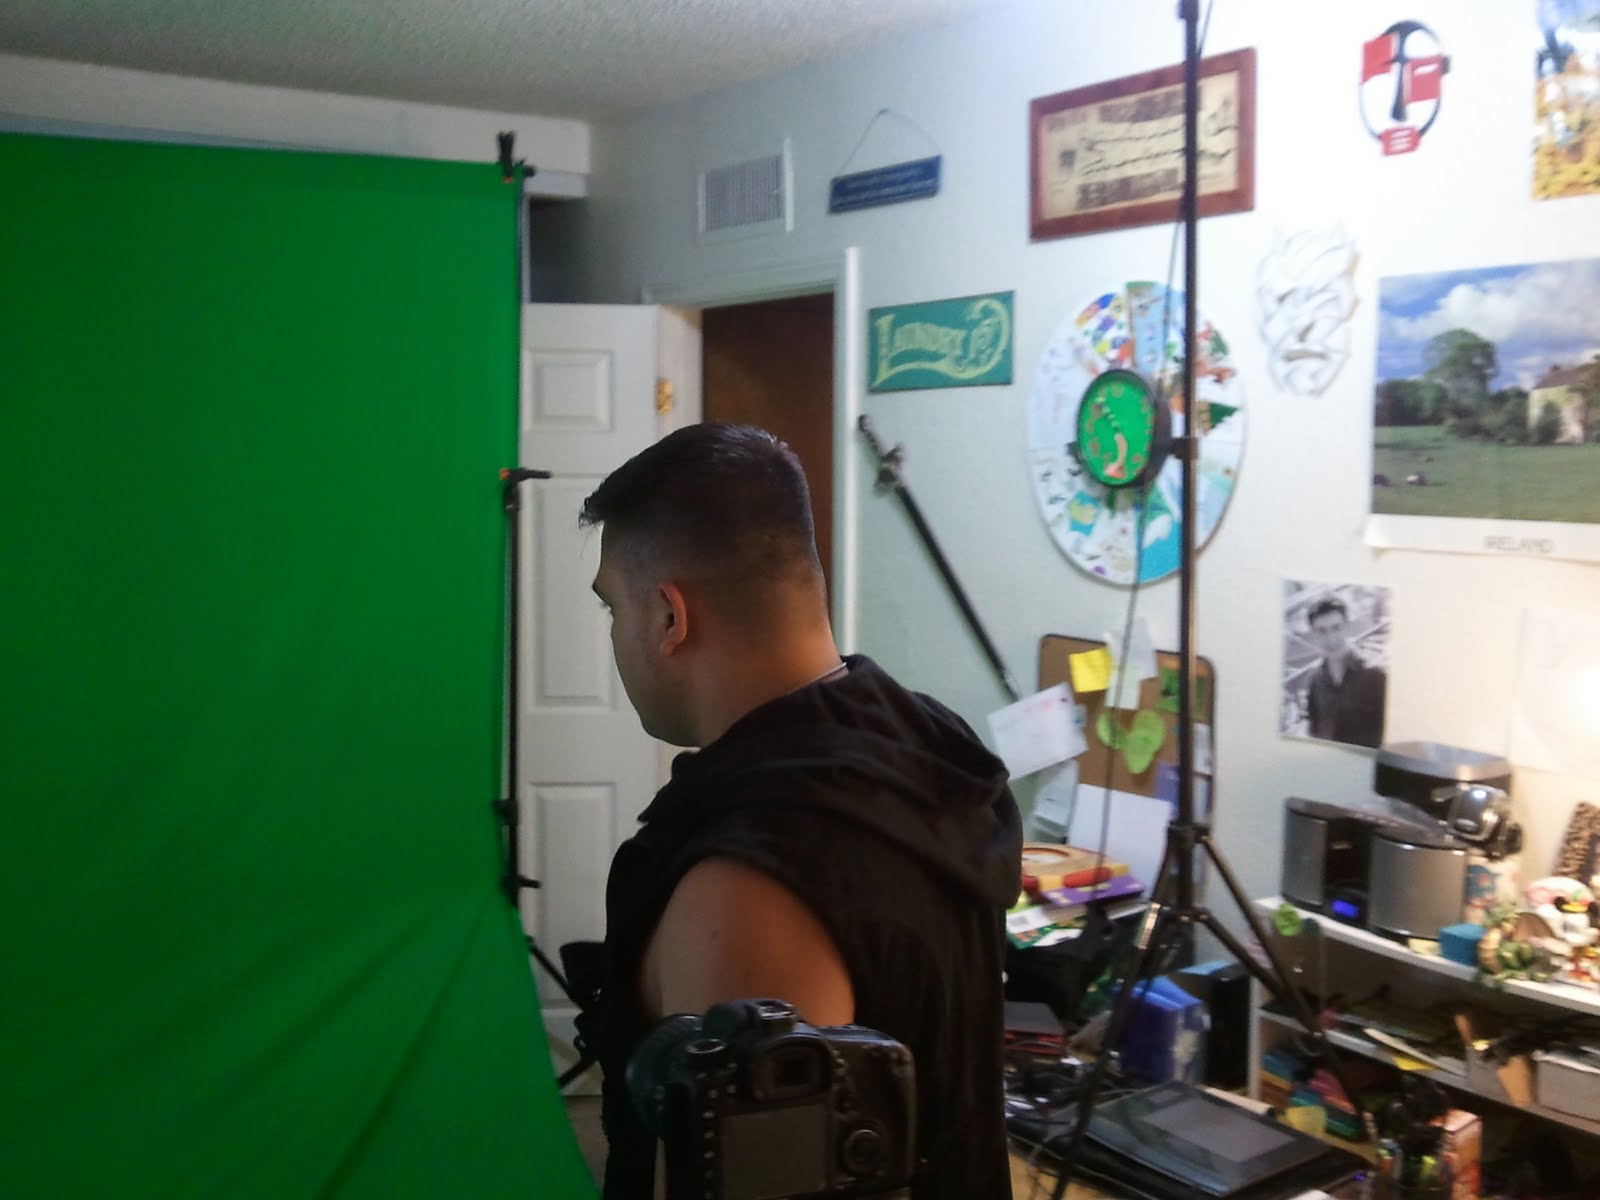
Setting up for the Magic Shield
Here are some pics as we set up for shooting the Magic Shield.
We were so excited about filming that when we figured out costuming, we jumped straight into setting up.
I'd like to thank the wonderful Tiffany Dailey for letting us film in her room, as it was the only available area we had at the time. For three days, she put up with a studio set up as we scheduled, and re-scheduled the shoot. I'd also like to thank my brother, Xavier Marin, for taking photos throughout the set up.
We continually had to adjust to accommodate to what the shot needed. Once we had the green screen as evenly lit as possible using a lighting set and multiple reflector kits, the next challenge was to keep the green screen as unwrinkled as possible in between shots. It was worth it as the keying was made much, much easier later in production.


Cold House
Created using: Shake, Maya
This shot was initially created with still photos as a project to change the weather in a scene. I went back later and added green screen footage of myself. To add to the effect, I created the cold breath using Maya fluid effects and matched it to the footage of me pretending to be cold.
This shot was initially created with still photos as a project to change the weather in a scene. I went back later and added green screen footage of myself. To add to the effect, I created the cold breath using Maya fluid effects and matched it to the footage of me pretending to be cold.
Beach Storm
Created using: After FX
This shot is created using footage of the beach filmed at Torrey Pines, CA and trees in my apartment parking lot. Additional elements such as the rain, raindrops and lightning were created in After FX.
This shot is created using footage of the beach filmed at Torrey Pines, CA and trees in my apartment parking lot. Additional elements such as the rain, raindrops and lightning were created in After FX.
Creating the Static Car
Here are some picture we took while shooting for the "Static Car",
I'd like to thank Tiffany Dailey and Andrew Barber for being my awesome actors!


I'd like to thank Tiffany Dailey and Andrew Barber for being my awesome actors!


Static Car
Created using: After FX
This shot was created by filming actors in a static car and compositing various elements to create the illusion of movement. This includes removing the green screen, adding a moving background and reflections on the windows, and of course, color correction to tie it all together. To complete the effect I also simulated an over exposed sky, which would happen if the exposure is set to see the inside of the car.
This shot was created by filming actors in a static car and compositing various elements to create the illusion of movement. This includes removing the green screen, adding a moving background and reflections on the windows, and of course, color correction to tie it all together. To complete the effect I also simulated an over exposed sky, which would happen if the exposure is set to see the inside of the car.
Thursday, December 16, 2010
Beautification
Created using: Shake
This shot was created to demonstrate how one can not only manipulate an image, but footage as well. In this shot we see the original woman has several changes made to her appearance.
Here is the original:
Next we see the end result of various amounts of color correction and distortion added. The various effects are limited to certian areas by using 2D Tracking and then applying the tracking data to various masks. These masks are then refined through the use of careful rotoscoping.
By the end result, the forehead and cheeks have been smoothed and removed of blemishes. The white of the eyes has been whitened while the color is intensified and the overall effect is sharpened. Next we see the teeth are also brightened with any yellow being removed, while the lip color is intensified by adding a saturated red color. The hair is then isolated and color added, the skin is then isolated and changed to a warmer color as well. Next, the side of the cheeks are brought in by applying a localized warp that also uses tracking data to follow, thus bringing in her cheeks. Finally, the film grain that was removed or lost with the alterations is matched and then added back into the appropriate places.
Subscribe to:
Posts (Atom)